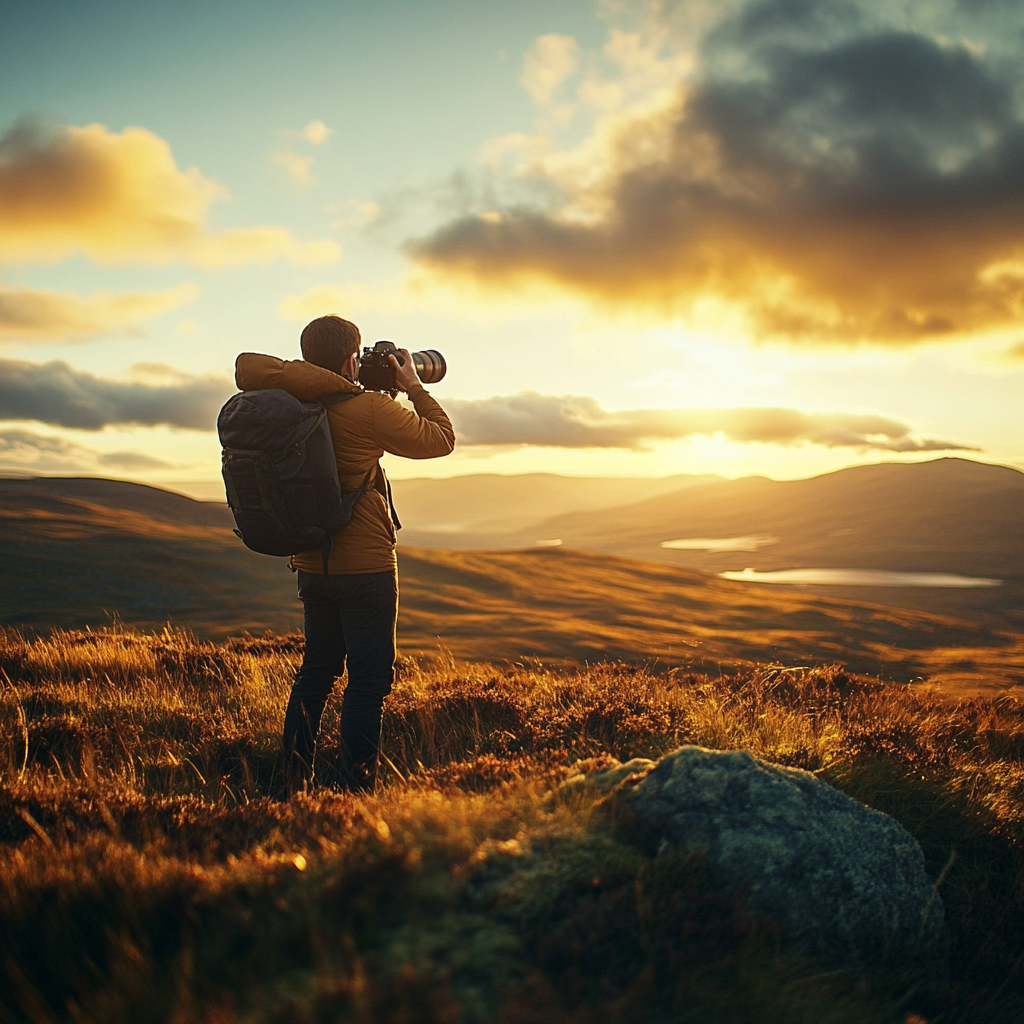
Light is the very essence of photography. Without light, there would be no photos—after all, the word “photography” itself comes from the Greek words meaning “drawing with light.” Whether you’re just starting out or looking to refine your skills, understanding light is crucial to mastering the art of photography.
In this post, we’ll dive into the different types of light, key characteristics you need to know, and how to use light effectively in your shots.
Natural Light vs. Artificial Light: What You Need to Know
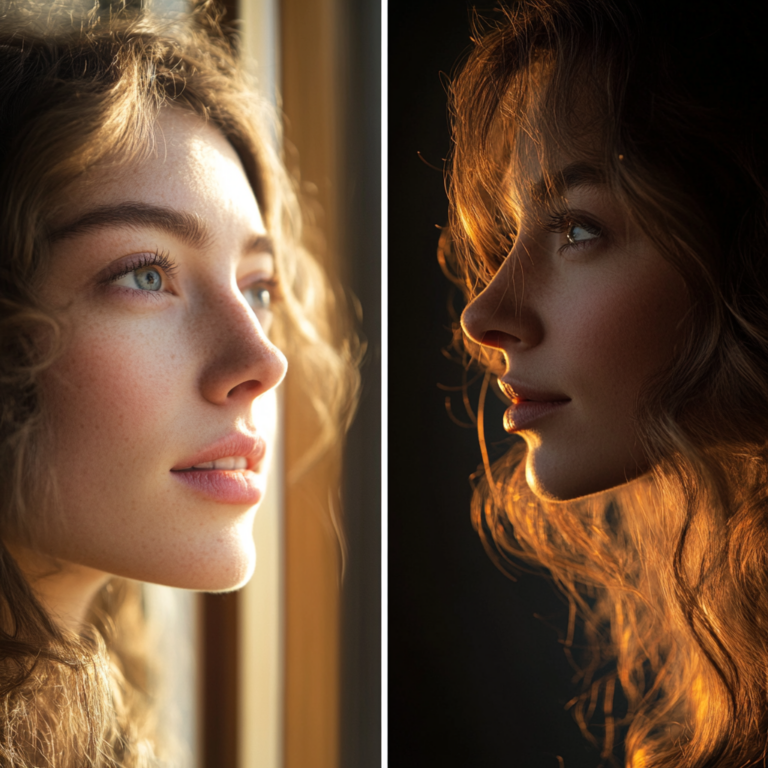
As a beginner, one of the first concepts you’ll encounter is the difference between natural and artificial light. Both have their own unique properties, and knowing when and how to use them will take your photography to the next level.
1. Natural Light
Natural light includes sunlight, moonlight, and any ambient light that comes from the environment around you. The beauty of natural light is that it’s constantly changing, giving you a dynamic range of lighting conditions throughout the day. Whether you’re shooting during the golden hour (just after sunrise or before sunset) or capturing the soft light of an overcast day, natural light offers a wide variety of moods and tones.
Pro Tip: Experiment with shooting at different times of the day. You’ll notice how the light changes, influencing the look and feel of your images.
2. Artificial Light
Artificial light, such as studio lights, flash, and LED panels, is entirely man-made. The major advantage of using artificial light is control—you can adjust the intensity, direction, and even color of the light to fit your vision. However, this requires a bit of technical knowledge and practice to get it right.
Pro Tip: While artificial lighting can help you achieve a professional look, make sure you’re comfortable with how to use it before shooting important projects. A simple flash or softbox can make a huge difference!
Key Aspects of Light in Photography
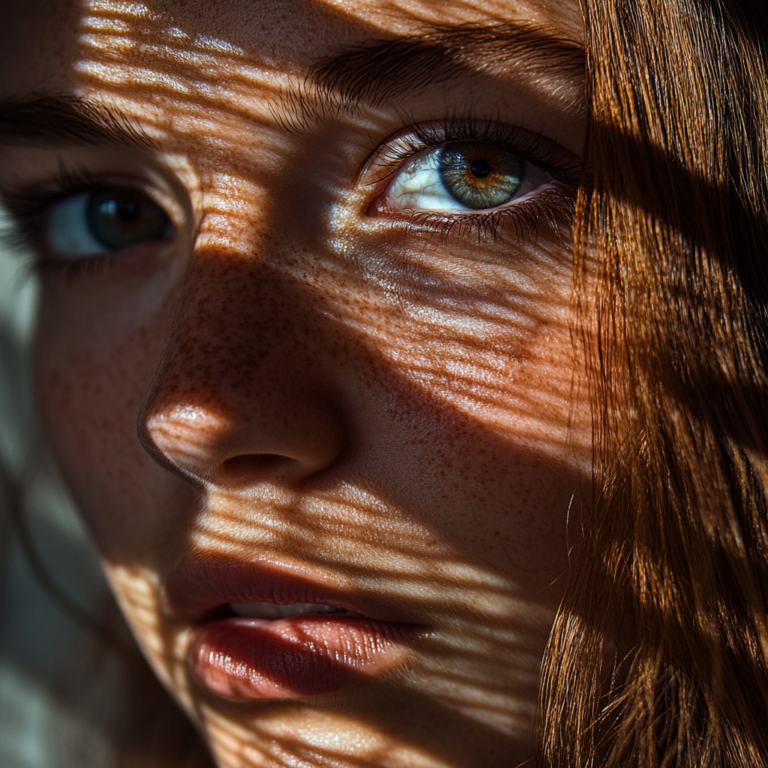
Mastering light isn’t just about knowing when to use it—it’s about understanding how different qualities of light affect your photos. Here are four essential aspects of light that every photographer should grasp:
1. Quality of Light
The quality of light refers to how harsh or soft the light is. Hard light creates sharp shadows, while soft light produces smooth, gradual transitions between light and shadow.
Pro Tip: For portraits, soft light is often preferred because it creates flattering shadows on the face. Try using a diffuser or shooting on a cloudy day to soften the light.
2. Direction of Light
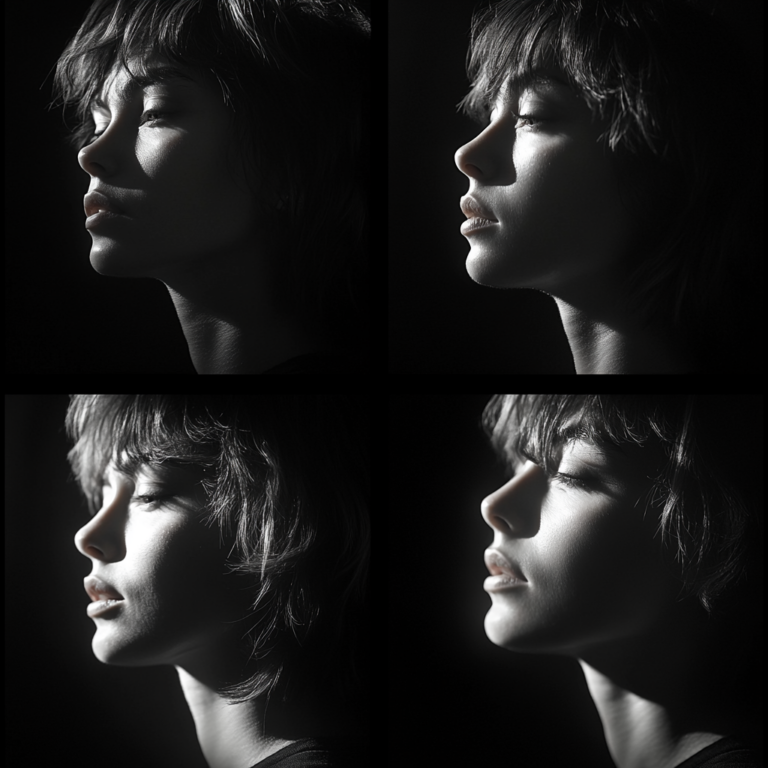
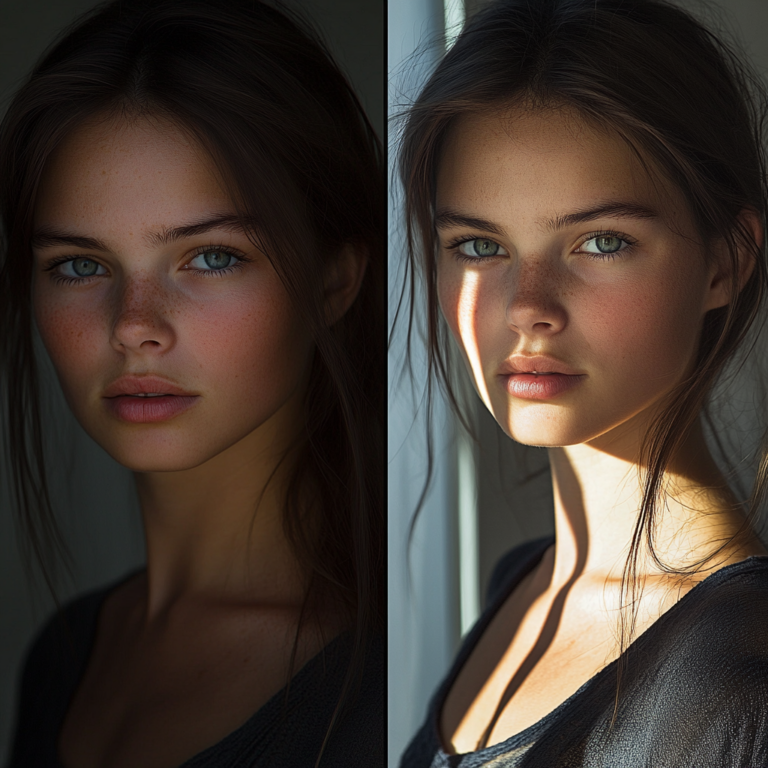
The direction from which light hits your subject can dramatically change the look of your image. It affects the placement of shadows and can make your subject appear more three-dimensional. The angle and position of the light source are key to setting the mood of your shot.
Pro Tip: Experiment with side lighting for dramatic shadows or backlighting to create silhouettes.
3. Intensity of Light
Light intensity refers to how bright or dim the light source is. Intensity controls your exposure, which determines how bright or dark your image will be. By adjusting the intensity, you can highlight specific areas of the scene or create a moody atmosphere.
Pro Tip: Use a reflector to bounce light and fill in shadows when your subject is too dark.
4. Color Temperature
The color temperature of light affects the warmth or coolness of your image. Natural sunlight tends to have a warmer tone, while artificial lights (like LEDs) can lean more towards cooler blues or greens. Adjusting the white balance on your camera helps you correct these color tones.
Pro Tip: White balance settings on your camera allow you to adjust the color temperature for different lighting conditions, ensuring your photos have the right tone.
�
How to Use Light Effectively in Your Photography
Understanding light is one thing—knowing how to use it effectively is what will truly elevate your photography. To get the best results, here are a few tips to keep in mind:
-
Observe How Light Interacts with Your Subject
- Take time to watch how light falls on your subject, and notice how the position of the light affects the overall image. This is one of the simplest but most powerful ways to improve your photos.
-
Experiment with Different Lighting Setups
- Whether you’re shooting outdoors with natural light or experimenting with artificial lighting, don’t be afraid to test different setups. Use reflectors, diffusers, or even make-shift light modifiers to see how they alter the image.
-
Work with What You Have
- Not every photo shoot requires fancy studio lights. Sometimes, a simple window or a streetlamp can provide beautiful, creative lighting. Start by making the most of natural light, and gradually move on to artificial setups as you build confidence.
Conclusion
Light is more than just a tool—it’s the backbone of photography. Whether you’re using natural light or artificial sources, understanding its properties and how to control it will give you the creative freedom to capture stunning, professional images. With time and practice, you’ll learn to see light differently, and it will become second nature in your photography journey.
Pro Tip: Keep practicing! Every shoot is an opportunity to learn how light can shape your images. Keep experimenting, and don’t be afraid to make mistakes along the way!
Final Thoughts
Light is the photographer’s paintbrush—learn to control it, and you can create beautiful works of art. From mastering natural light to experimenting with artificial sources, there’s always something new to discover. Happy shooting!

